01
System check
We shut down the air handler at the disconnect, pull the old thermostat, and test the low-voltage bundle with a multimeter. We confirm R, C, W, Y, and G wires and check whether your board supports a C-wire. If it does not, we run one or install a compatible adapter. Fifteen to twenty minutes.
02
Compatibility and placement
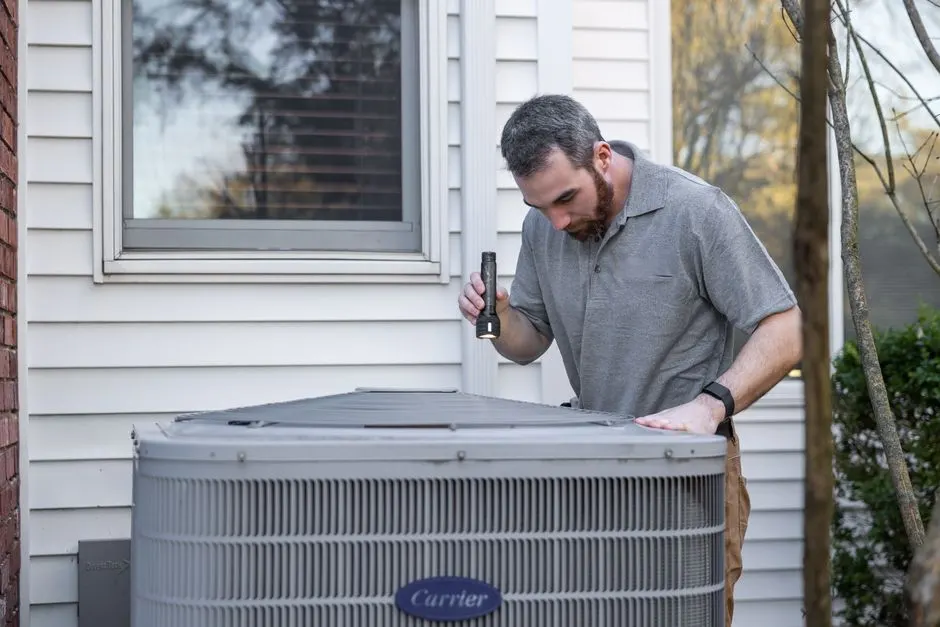
We identify your equipment brand and staging, whether it is Carrier, Trane, Lennox, Goodman, Rheem, York, Mitsubishi Electric, or Daikin, and match the thermostat configuration to it. Then we pick a mounting spot away from direct sun, supply registers, and exterior doors so the sensor reads room air, not wall heat.
03
Mount and wire
We mount the base plate level, terminate each conductor, and seal the wall penetration so attic air does not skew readings. Wiring is landed per the manufacturer diagram, and we photograph the terminal layout before closing up, so the next tech who opens it knows what they are looking at.
04
Connect and configure
We pair the unit to your 2.4 GHz Wi-Fi, create or join your account, set cooling and heating schedules, enable geofencing, and add remote sensors if you bought them. We also set the compressor minimum run time and cycle rate for Florida humidity, which most DIY installs never touch.
05
Test and walkthrough
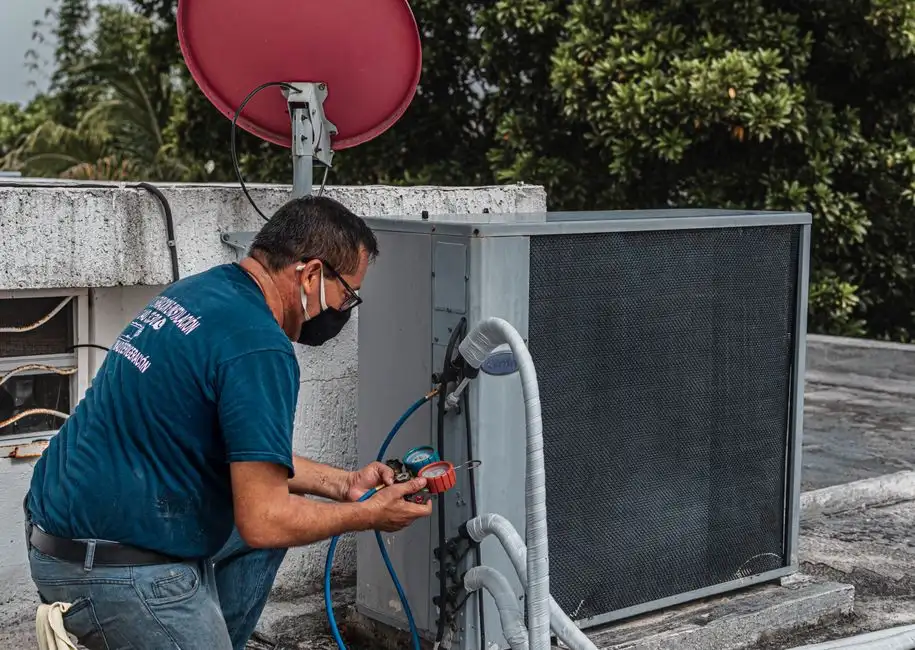
We run a full cooling call and a heating call, verify the blower and condenser respond, and confirm the app shows live status. Then we walk you through schedules, away mode, and filter reminders on your own phone. Total visit: two to three hours for a standard single-system home.